


Fiat Uno Manual
Engine/transmission - reconnection and refitting (1116 cc and 1301 cc
engines)Engine / Engine/transmission - reconnection and refitting (1116 cc and 1301 cc
engines)
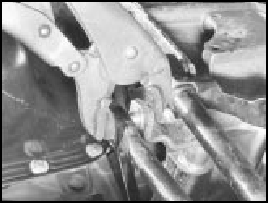
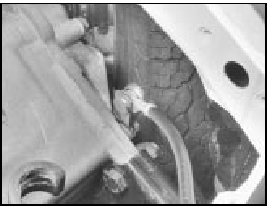
1 Offer the transmission to the engine making sure that the clutch has been centralised as described in Chapter 5 (photo).
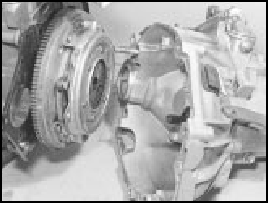
44.1 Offering transmission to engine
2 Draw the engine and transmission together by screwing in the connecting bolts.
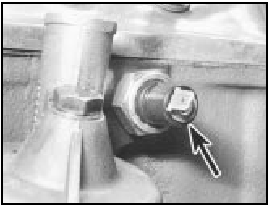
Refit lifting lugs and hose and wiring clips (photo).
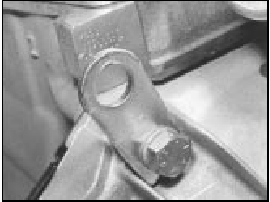
44.2 Lifting lug at bellhousing bolt
3 Bolt the lower cover plate to the face of the flywheel housing.
4 Bolt the starter motor into position.
5 Bolt the mounting brackets into place.
6 Place the engine/transmission on the floor ready for raising by hoist or jack into the engine compartment.
7 Raise the car and position it over the engine/transmission.
8 Hoist or jack the power unit upwards until the left and right-hand mountings can be connected (photos).
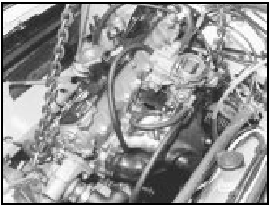
44.8A Raising engine/transmission into engine compartment
44.8B Left-hand engine mounting
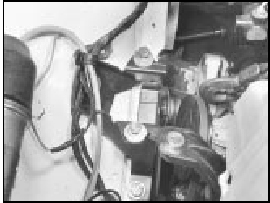
44.8C Right-hand engine mounting brackets
44.8D Right-hand mounting bolted up
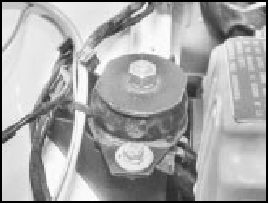
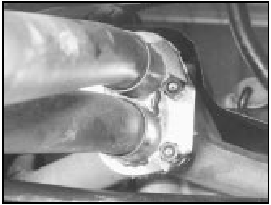
9 Remove the lifting mechanism and connect the bottom mounting (photos).
44.9A Engine/transmission lower mounting
44.9B Lower mounting attachment bolts
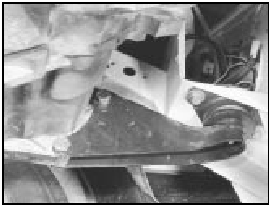
10 Connect the inboard ends of the driveshafts with the transmission and the outboard ends with the hub carriers.
11 Reconnect the hub carriers with the clamps at the base of the suspension struts.
Tighten the fixing bolts to the specified torque.
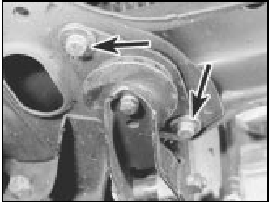
12 Bolt the brake flexible hose support clips to the suspension struts.
13 Reconnect the tie-rod end balljoints tightening the nuts to the specified torque.
14 Reconnect the gearchange rods. The easiest way to do this is to force the sockets onto the ball studs using a pair of self-locking grips (photo).
44.14 Connecting a gearchange rod ball cup
15 Refit the exhaust system and reconnect the downpipe to the manifold (photo).
44.15 Exhaust downpipe flange nuts
16 Screw on the driveshaft nuts and tighten them to the specified torque. Have an assistant apply the brake pedal hard to prevent the driveshaft from turning.
17 Refit the front roadwheels and lower the car to the floor.
18 Reconnect the carburettor fuel and coolant hoses.
19 Unplug the fuel hose and connect it to the pump.
20 Reconnect the choke and throttle controls to the carburettor.
21 Reconnect the coolant and heater hoses to the engine. Also reconnect the brake servo hose to the intake manifold (photos).
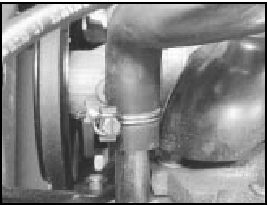
44.21A Heater hose at manifold

44.21B Brake servo hose at manifold
22 Reconnect the leads to the reversing lamp switch. Reconnect the transmission earth lead (photos).
44.22A Reversing lamp switch on transmission
44.22B Transmission earth lead
23 Reconnect the clutch cable and adjust as described in Chapter 5.
24 Reconnect the speedometer drive cable to the transmission and tighten the knurled retaining ring.
25 Reconnect the low tension lead to the distributor and the high tension lead to the ignition coil.
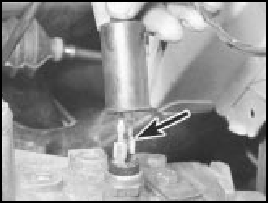
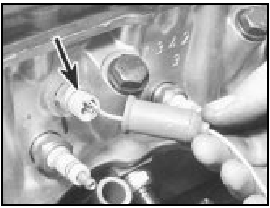
26 Reconnnect the electrical leads to the starter motor, the oil pressure and temperature switches and the coolant temperature switch.
44.26A Oil pressure warning switch
44.26B Coolant temperature switch
27 Connect the leads to the alternator.
28 Refit the air cleaner.
29 Refill the cooling system. Refill the engine with oil.
30 Reconnect the battery.
31 Refit the bonnet and connect the windscreen washer tube.
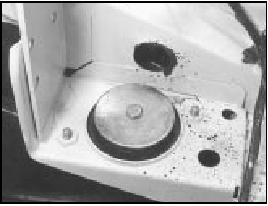
32 Fit the inner wing protective shields (photo).
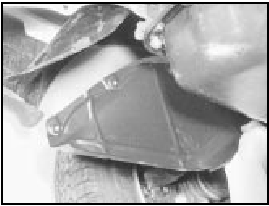
44.32 Inner wing protective shield


